Don't Rush the Process
There are many steps to designing your own engagement ring. First, you consult with your designer, telling her or him exactly what you like and what you don’t like and any ideas you have for personal touches. After you talk with a designer, she’ll then show you rough sketches to review, followed by a detailed computer design and a resin or wax model. At each stage, you’ll have the chance to consider the designs and give honest feedback. If you make sure you are happy at each step before moving on to the next, you’re more likely to love the finished product. Don’t rush the process: be prepared to spend at least a month, maybe more, from start to finish. And don’t forget to measure your ring size at several times of the day to make sure that your ring will fit.Set a Realistic Budget
How much are you planning to spend on your ring? Obviously, you don’t want to spend more than you can afford. But your budget should also match your expectation about the ring. Your designer can help you understand whether the ring you want is possible within your budget and come up with options for you.Get a Detailed Estimate
How much will you ring cost? Make sure you understand all the factors in the price quote. At RockHer, we charge you a set fee of $350 for the custom engagement ring design consultation instead of hiding the cost of the design in the labor and materials of your final ring so the designer works for you. She won’t try to get you to spend more than required to get the ring you want. Make sure when you settle on a final design, you receive a guaranteed estimate of what the final ring will cost before going ahead.CAD Models Aren't Exact
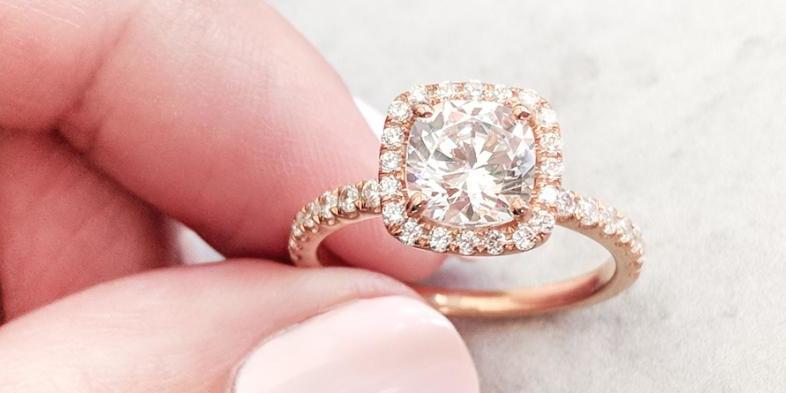
When you first start taking to your designer, she’ll show you images of existing rings and rough sketches to communicate concepts and get a sense of what you want. Your ring becomes much more real when she creates a computer 3D model: this pattern will actually be used to make your ring. Although CAD modeling programs have settings to create photorealistic renderings of what your ring will look like, they aren’t completely true to the final piece. The CAD model usually looks more sturdy and chunky (especially prongs) than your ring will look. That’s because the casting has extra metal that will be polished away after your ring is cast into metal. So don’t worry if your ring looks less delicate than you want at this stage. If the designer prints a model for you to try on from the file, it will have the same issue but you’ll notice it less since you are looking at your ring at the correct scale instead of blown up to fill a computer screen.Ask About the Workshop
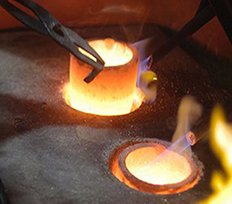
Where will your ring be made? Some companies might outsource the actual making of your ring. One of the advantages of having your engagement ring made for you is that it will be made in your finger size and to fit your center stone perfectly so won’t require sizing: a step that can create weaker areas in the metal. Ask whether or not your ring will be made from scratch or by assembling pre-made components. A skilled designer will make sure that there aren’t any weak spots or areas that will receive too much stress. Take her advice! If it’s important to you to source locally, ask where your ring will be made as well as how it will be made. Workshops like ours in the United States have safe and healthy working conditions and you can be sure that the craftspeople making your ring are fairly compensated. Because they are more expensive than factories in Asia, they concentrate on high-quality production. Crafting a ring at the highest level of quality will ensure that it will last for generations.
